18 mars 2024
This is the continuation of Part 1.
We have worked so far with a not installed printer. But some users have printers and want to use them to print reports. So, we will continue the demo and show how to install a printer.
5. Download and install CutePDF Writer on Windows
We choose to install a free virtual PDF printer. The configuration on EnterpriseOne is similar for a real (physical) printer.
- Download CutePDF Writer
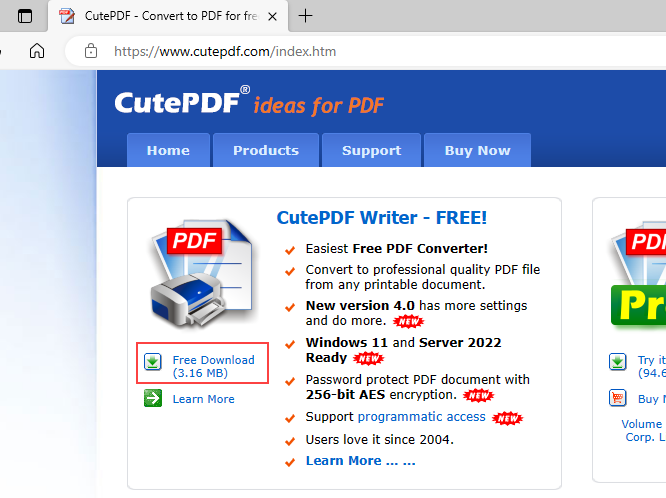
Fig 31
- Once the installation is complete go to Printers & scanners in Windows setting, select CutePDF Writer and then Printer properties.
- Sharing tab: Select Share this printer. Use for the share name: cutepdfWriter.
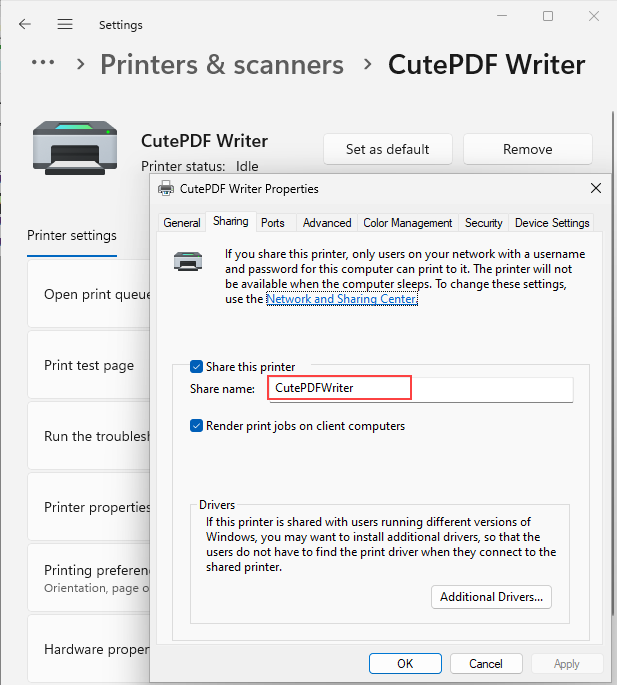
Fig 32
- Orientation: Portrait
- Advanced > Select your paper Format.
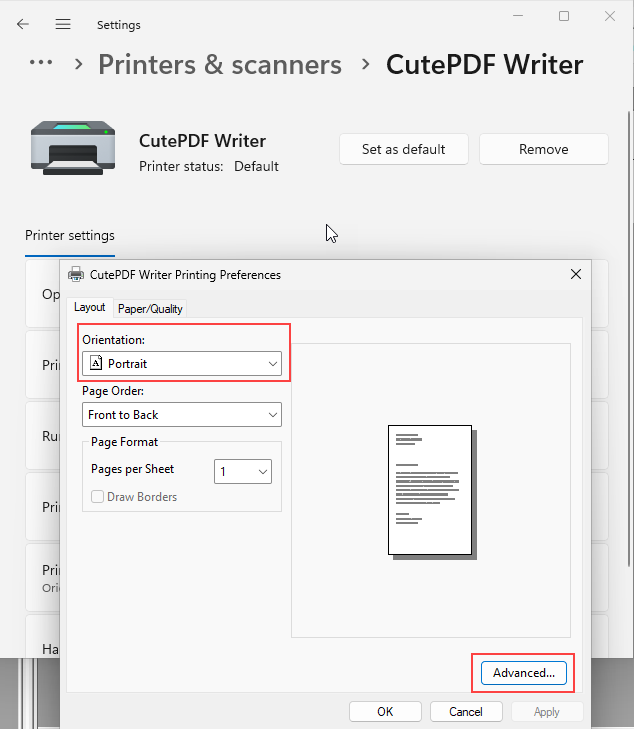
Fig 33
6. Setup CutePDF Writer in EnterpriseOne
- Open Printers app in JDE EnterpriseOne and add a new printer.
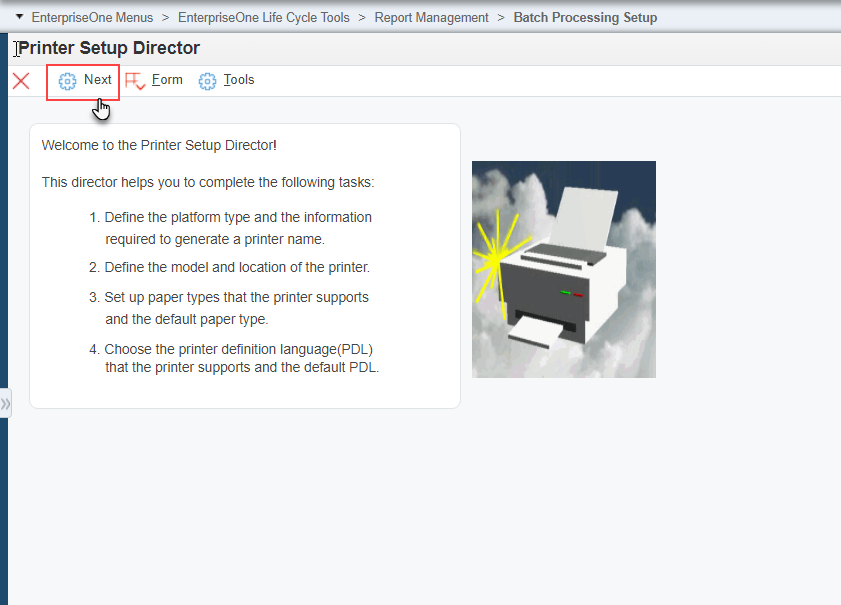
Fig 34
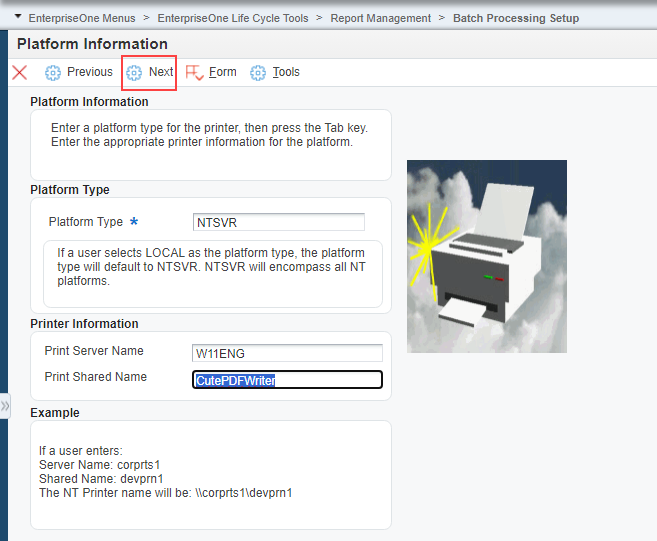
Fig 35
- In Print Share Name, use the share name defined in the printer properties.
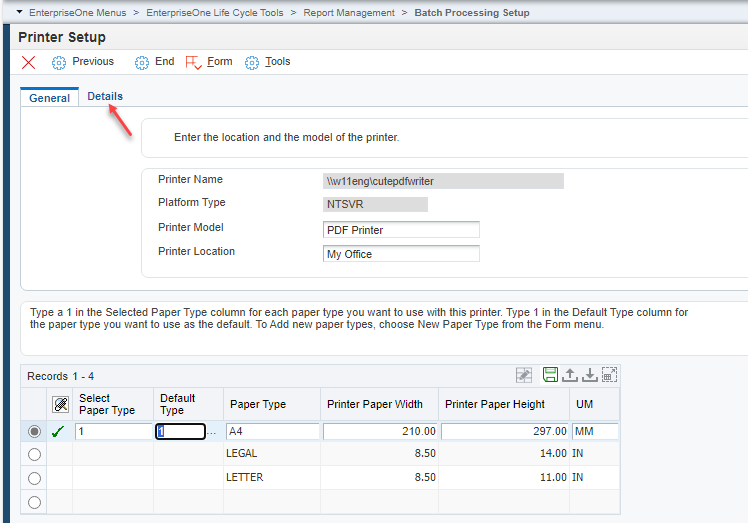 Fig 36
- In Printer Model, you can now use Visual Assist to select "PDF Printer".
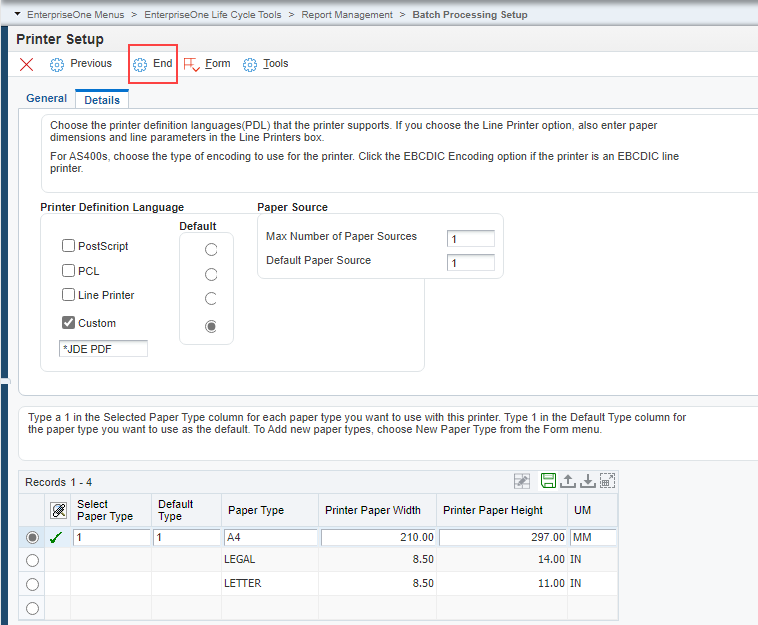
Fig 37
- In Printer Definition Language check Custom and select *JDE PDF. Finally, press end to complete the setup.
- In Work With Default Printers click Add.

Fig 38
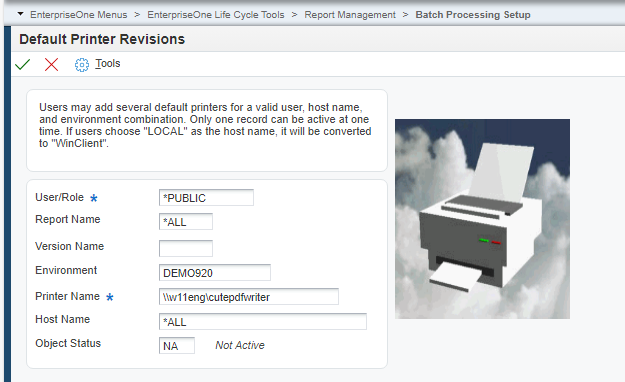
Fig 39
- In Printer Name, use Visual Assist to select your printer.
- Confirm the form and select Find.
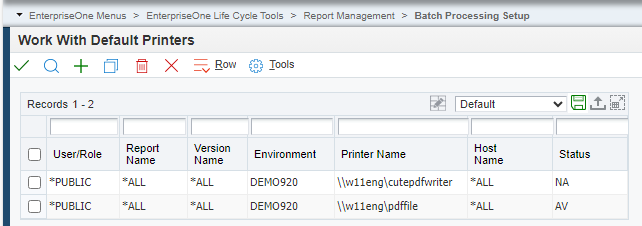
Fig 40
- Select the PDF file printer and change its status to Not Active:
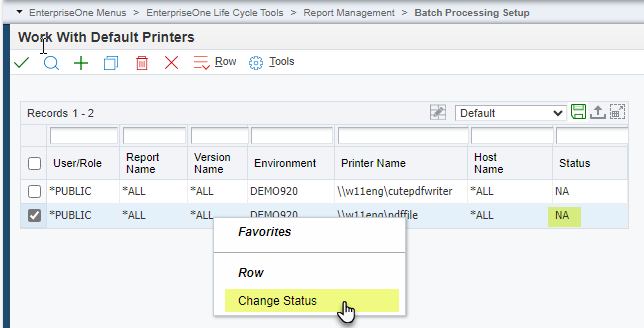
Fig 41
- Change the "CutePDF Writer” status to Active:
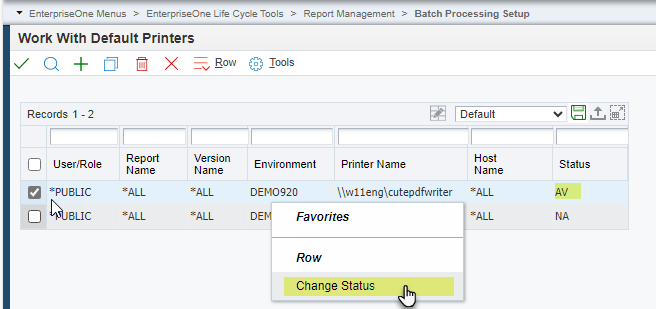
Fig 42
- Select PDF File again and try to change its status to active. We get the error “Only one active printer is allowed”.
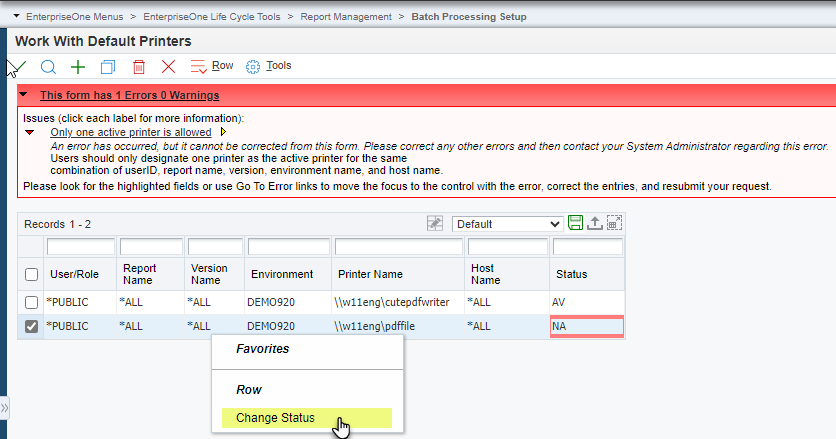 Fig 43
Only one active printer is allowed as the default printer. We change the status of the existing default printer to inactive before making the new printer active.
- Close Work With Default Printers form.
7. Test that CutePDF Writer is working properly
We will test the printer.
Open the Batch Version Reports by address.
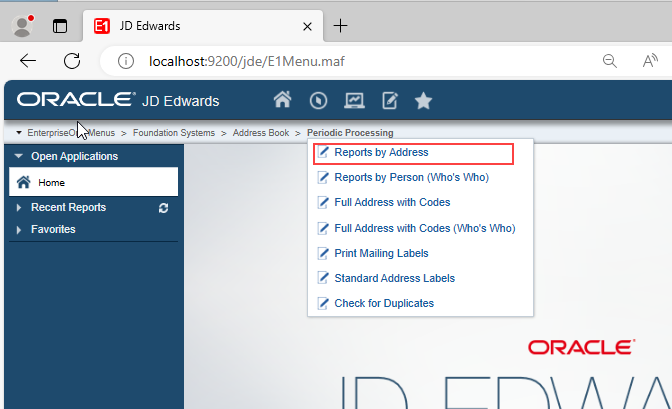
Fig 44
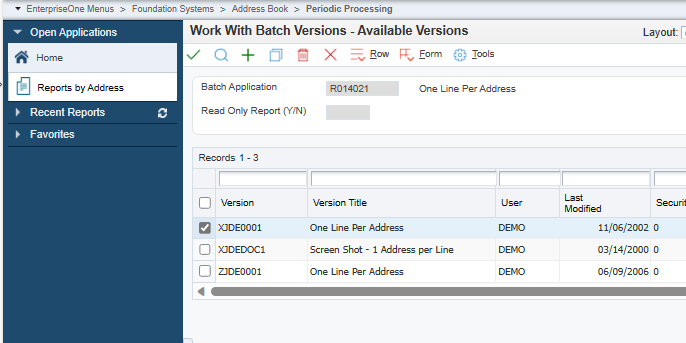
Fig 45
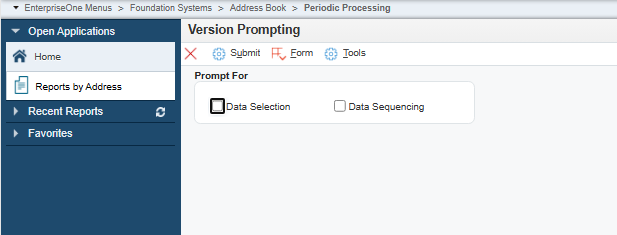
Fig 46
- Click Submit

Fig 47
- The default printer is selected. Click OK.
- Printing is now started and the task is displayed in the Windows 11 taskbar.
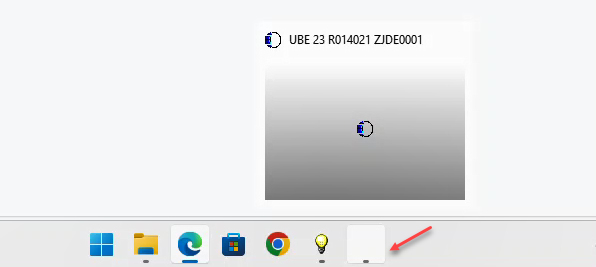
Fig 48
- A CutePDF Writer window prompts you to save the file or cancel the action.
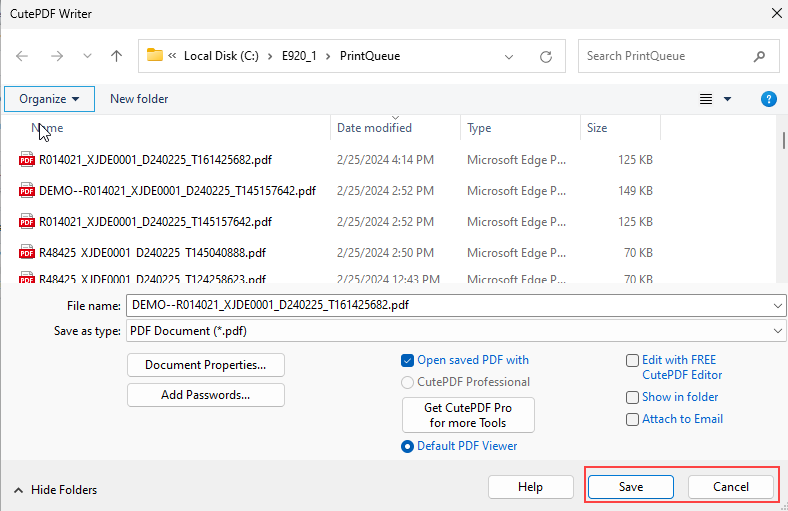
Fig 49
- After saving the file opens with EDGE, our default PDF Viewer in this Demo.
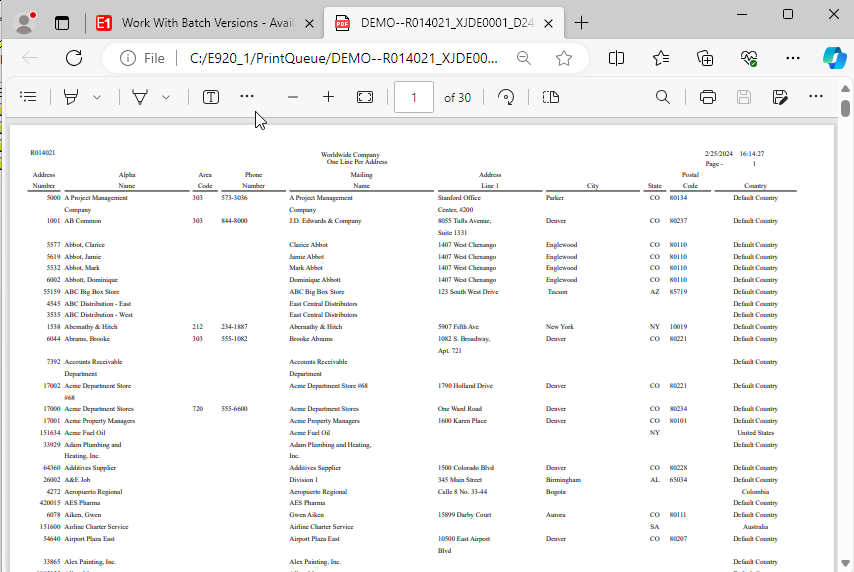 Fig 50
- Go to “C:\E920_1\PrintQueue” folder.
Two files are created. The name of the second file consists of the user name ("DEMO" in this example) followed by the name of the first file.
The first is the PDF file automatically created by the system.
The second is submitted to the default printer and created by CutePDF Writer printer.
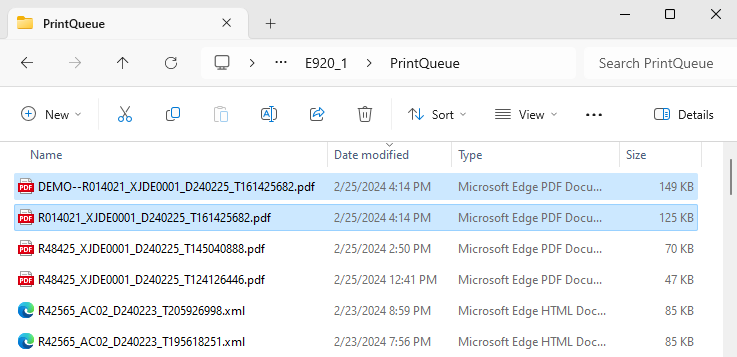
Fig 51
If you have a real (physical) printer, your report will print on your printer and you will also have a PDF file in your PrintQueue folder.
If you want to choose another installed printer other than the default printer in the Printer Selection:
- Select Change Printer in the form exit menu,
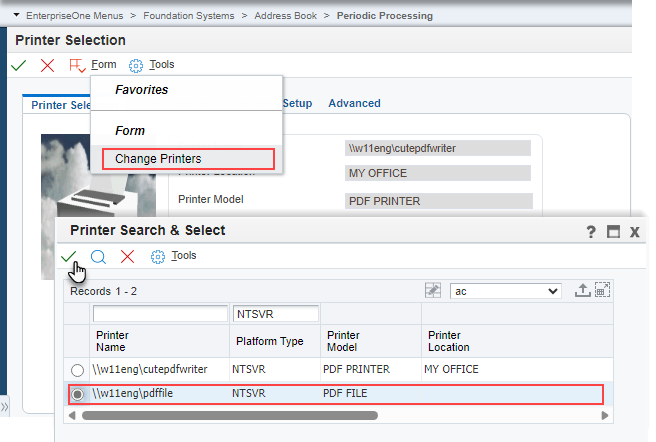
Fig 52
- And select a printer in the Printers selection screen.
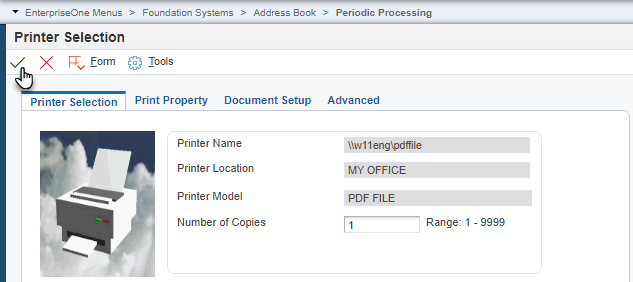
Fig 53
- You will now print to your replacement printer.
Your printers are now installed and working properly from the Windows client and the web client to create PDF files and print reports on your real (physical) local printer.
Thanks for the reading
We will be happy to read your comments.
